|
In this six part Mycology in the Garden video series that is in collaboration with Central Texas Mycology, we will show you five low-cost and low-tech ways to grow edible mushrooms outdoors in shady areas where plants would not thrive. You can grow them alongside your vegetables, perennials, or in the shade of trees. These basic techniques require no special equipment or electricity, and can all be done outdoors using organic materials found such as straw, leaves, wood chips and logs which all make for great mushroom substrate. Part 2 shows you how to grow different type s mushrooms using different types growing mediums. Stay tuned for future videos on how to grow mushrooms in straw bale, in containers, on logs, and also using the trench composting method. WHEN TO GROW MUSHROOMS OUTDOORS Late Fall or Winter into early Spring is the best time in Texas to grow mushrooms outdoors. Typically mushrooms fruit after the rain and require high humidity and temperatures between 55 and 75°F depending on the species. It’s best to try to time it up with the seasons that mushrooms grow in nature and with the rain that usually comes in the fall and spring. If you are unsure of when certain mushroom fruit is in the wild, you can use the app iNaturalist. Just search for a mushroom species, location, and filter by dates. WHAT MATERIALS ARE NEEDED
Many times mushroom farms have used sawdust blocks that have grown mushrooms once, and then end up getting tossed in the waste stream. Check with your local mushroom farm to see if you can help them reduce waste and use the spawn in your organic garden. If you are in the Austin area, send us an email to get mushroom compost blocks for FREE. You will be helping keep this wonderful source of organic matter out of the waste stream and help build healthy soil in your garden. HOW TO GET STARTED
STEP 1: Choose an Area Find a shady area and keep in mind that one 5 lb bag of spawn can inoculate a 16 square foot area. If you are making a new bed, you can add a hardwood log frame around the bed. You can even use inoculated logs, which we will show you how to do as well in a later video. You can also use the footpaths in your garden to create more organic matter and suppress weed growth. Or you can use an existing garden bed that is already mulched or one that needs fertilization and more organic material. Also choose an area close to water either from irrigation or natural water flow. An area where water flows slightly downhill, pools up, or where you might have nitrogen-rich run-off from livestock is also a good area. STEP 2: Cover Area with Cardboard If there is a lot of vegetation growing in the area, cover the entire ground with cardboard from flattened boxes that have tape removed. Water the cardboard until it is saturated. STEP 3: Add Mushroom Spawn Next you will need to sprinkle the mushroom spawn lightly onto the cardboard. STEP 4: Add 3” of Substrate Now add 3” of substrate and mix in a generous amount of spawn. Remember wine caps like wood chips and oysters like straw. While wood chips work well in paths and around perennials, we recommend using straw mulch in vegetable beds. As it decomposes, straw uses up fewer nutrients in the soil than wood chips. STEP 5: Compact the Surface Pack the surface to get rid of any air pockets. Avoid branches or other very large pieces of wood as these take longer to colonize and can create too much air space. STEP 6: Water the Area Next you will sprinkle lightly with water. STEP 7: Add Layer of Torn up Cardboard Add another layer of torn up cardboard, so that the moisture can make it to the bottom layer. STEP 8: Add More Spawn and Wood Chips Repeat steps 3 and 4, until you have reached a height of a little less than 6”. STEP 9: Cover with Straw or Leaves Cover with straw or leaves to a depth of 1-2” to help preserve moisture and to shade the substrate. WATERING SCHEDULE Water every day for the first week, every other day for the 2nd – and then the same amount you water your vegetable garden. Don’t let your mushroom bed dry out! The first few weeks are critical, while the mycelium spreads. You don’t want soaking wet, because it creates an anaerobic environment where bacteria flourish. You can also cover your wood chips with straw to act as a mulch layer for moisture retention. Or, a tarp or other plastic sheeting can be used to prevent the bed from drying out. This is useful for straw beds or in especially hot or dry climates. MAINTENANCE & HARVEST Once established, mushroom beds require little maintenance outside of occasional watering during droughts. You can check on your bed every week or so to monitor moisture levels and how well the mycelium is growing. Once the mycelium has completely grown through the chips, you may notice tiny mushrooms, or pins, forming. If you’ve covered your bed with a tarp or plastic, that’s a cue to remove it so mushrooms can form. The growing process can take anywhere between 4 weeks to a few months after inoculation, depending on your climate, substrate, and how heavily you spawned. After mushrooms fruit they will spread their spores and the cycle starts over again. Fresh woody material can be added each year to maintain the health of the bed, and give it some extra food to eat. ALWAYS properly identify the mushroom before you eat it. You can also take some of the inoculated material from one bed and use it as spawn to inoculate new beds, or you can pass it along to a friend like a sourdough starter. Keep spreading the spores! 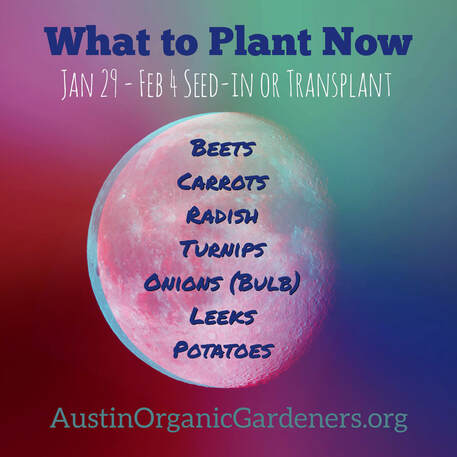 Jan. 29 - Feb 4 We hope you relaxed during the full moon and are enjoying seeing everything wake back up especially after the recent rains. We are now going into a waning period of the Moon—from the day after it is full to the day before it is new again. As the moonlight decreases night by night, plants are encouraged to grow roots, tubers, and bulbs. SEED-IN Beets Carrots Radish Rutabaga Turnips Potatoes TRANSPLANT Leeks Onions (bulb) Tag us on social media with a pic of the seed packet of your favorite varieties. For more ideas on Ornamentals, Perennials, and Herbs, visit the Central Texas Gardener and The Natural Gardener lists online. Download the Texas A&M Extension Planting Chart and Varieties Chart at AustinOrganicGardners.org. SUPPORT OUR MISSION: All of our lessons from the garden are free and we are always looking for new members to help us support our mission. Become a member of the oldest organic garden club in America. Memberships are only $10 a year and 100% of dues go to the Zilker Botanical Garden.
This video is part one of a series about growing mushrooms in the garden outdoors.
BENEFITS: 1. Fungi Are Great Recyclers: One billion years ago, the fungi kingdom began decomposing, carbon rich, hard-to-digest organic matter into forms that other organisms can use. We would not have the soil that we walk on today if not for the fungi kingdom. Growing mushrooms in the garden helps decompose common organic matter faster, while growing a food source. 2. Fungi Feeds Soil Food Web: This organic matter in turn feeds all of the living things in the soil food web, your plants, and eventually you when mushrooms fruit. 3. Fungi Distribute Water & Nutrients: Mycelium, the web-like threads underneath the soil, form a communication network, sometimes called the wood-wide-web which distribute nutrients and water. This web beneath our feet, connects vast systems of roots from plants and trees all over the planet. 90%+ of plants form mycorrhizal relationships with fungi. 4. Fungi Holds Soil Together: Mycelium physically binds soil particles together, creating stability that helps increase water infiltration and soil water holding capacity. 5. Builds Immunity: Evidence suggests that mushrooms support healthy immune response, lower inflammation and, through interaction with the gut microbiome, improved immune cell functionality. This is true not just for humans but also animals and insects. Mushroom extracts have been shown to improve the immunity of bees that are in danger of collapsing because of the varroa mite parasite. Let us know if you would like to incorporate mushroom growing in the garden. If you are growing mushrooms in the garden or need help identifying mushrooms in the garden tag us on social media. SUPPORT OUR MISSION: All of our lessons from the garden are free and we are always looking for new members to help us support our mission. Become a member of the oldest organic garden club in America. Memberships are only $10 a year and 100% of dues go to the Zilker Botanical Garden. January and February is the time of year to plant asparagus while it is dormant. Check your local garden store for asparagus crowns. You can also separate your existing asparagus to transplant and/or share with friends.
Today at the teaching beds @ Zilker Botanical Gardens, we transplanted asparagus crowns next to our strawberry bed. 🍓👊✳️ They are great companions! Both are early spring crops that will begin to produce after your last frost date. They root on different levels to maximize the nutrient return in your garden. Both should be mulched to keep down weeds and to maximize yields. Here are the steps to get them established at your location. 1. In FULL SUN Dig 12" d x 24" w trench. 2. In trench mound up mixture of compost & sand for drainage. 3. Drape crowns 18" apart over mound. 4. Cover with soil, then mulch. 5. Water in between rains. 6. Fertilize before and after your harvests. Be patient, in a 2-3 years asparagus will be in full production. When conditions are favorable, buds arise from the crown and develop into edible spears. Fresh asparagus from the garden is like 🍬 You can also grow asparagus from seeds but it takes even longer to get established. Happy winter gardening. ❄️ SUPPORT OUR MISSION: All of our lessons from the garden are free and we are always looking for new members to help us support our mission. Become a member of the oldest organic garden club in America. Memberships are only $10 a year and 100% of dues go to the Zilker Botanical Garden. 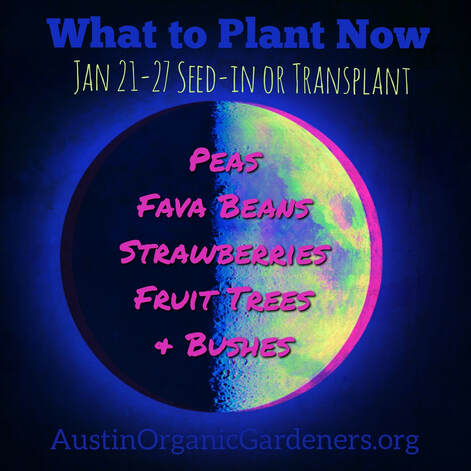 Jan 21 - 27 We just passed the first quarter and the moon is now in waxing gibbous going into a full moon. Now is also a time to seed-in peas, fava beans, and also plant transplants of strawberries, nut trees, fruit trees and berry bushes. Avoid planting tropical fruit trees and citrus until after the last frost. This is also a reminder to prune and trim your fruit trees while they are dormant. After February, plants start to bud and it will be too late. It’s always best to try to transplant and seed-in with the coming rains. SEED-IN English Peas: Snow, Snap, Sugar Fava Beans TIP: For best results in germination, soak seeds overnight and then toss in a Rhizobium bacteria inoculant before planting in soil. START INDOORS
TRANSPLANT Apples Peaches Pecans Pears Pomegranates Persimmons Figs Grapes Raspberries Blackberries Strawberries For more ideas on Ornamentals, Perennials, and Herbs, visit the Central Texas Gardener and The Natural Gardener lists online. Download the Texas A&M Extension Planting Chart and Varieties Chart at AustinOrganicGardners.org. SUPPORT OUR MISSION: All of our lessons from the garden are free and we are always looking for new members to help us support our mission. Become a member of the oldest organic garden club in America. Memberships are only $10 a year and 100% of dues go to the Zilker Botanical Garden.  Jan 14-20 Transplant or Seed in Leafy Greens We hope you had time to relax and wind down as we approached the New Moon. As we are approaching the First Quarter and are in Waxing Crescent, it’s a good time to plant leafy greens. During the waxing of the moon (the period extending from the day the moon is new to the day it reaches its fullest point), the moon pulls moisture upwards. Seeds do well during this time because moisture is available at the surface of the soil. It’s always best to try to transplant and seed-in with the coming rains. TRANSPLANT
SEED-IN or TRANSPLANT
START INDOORS
Now is also a time to plant fruit trees, graft & prune.
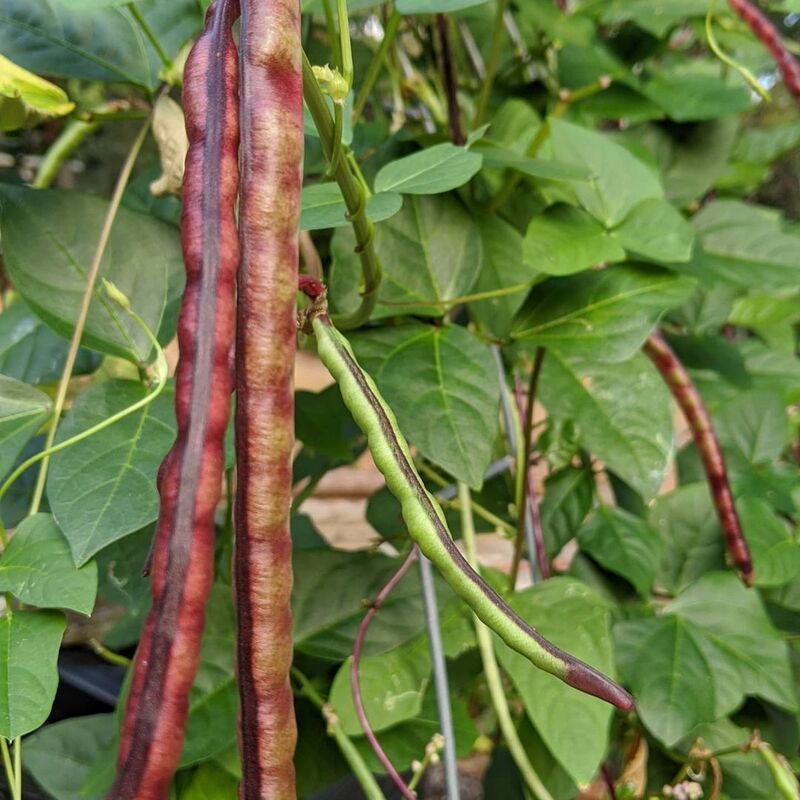
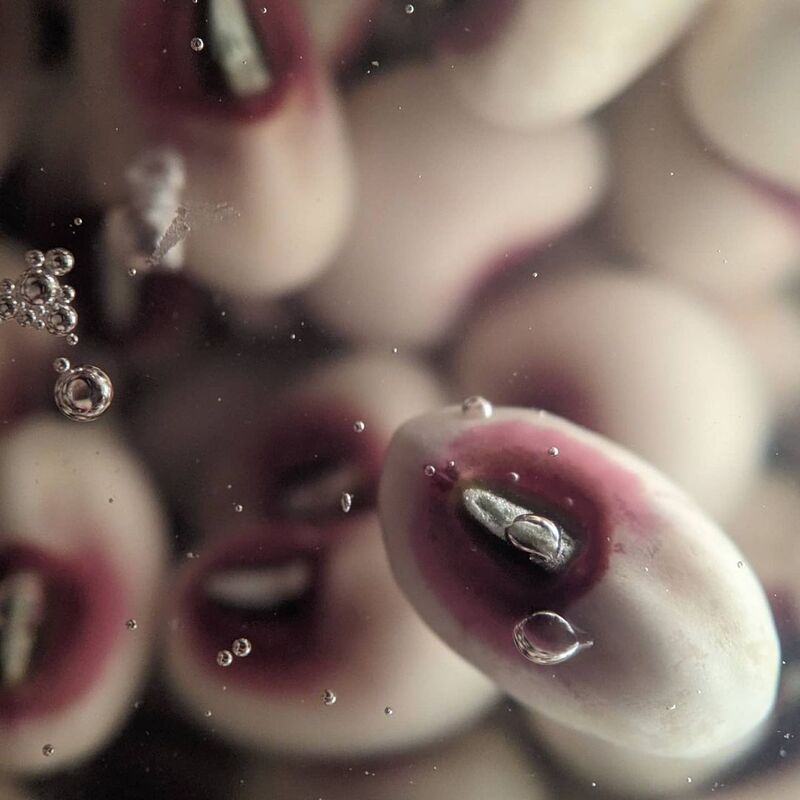
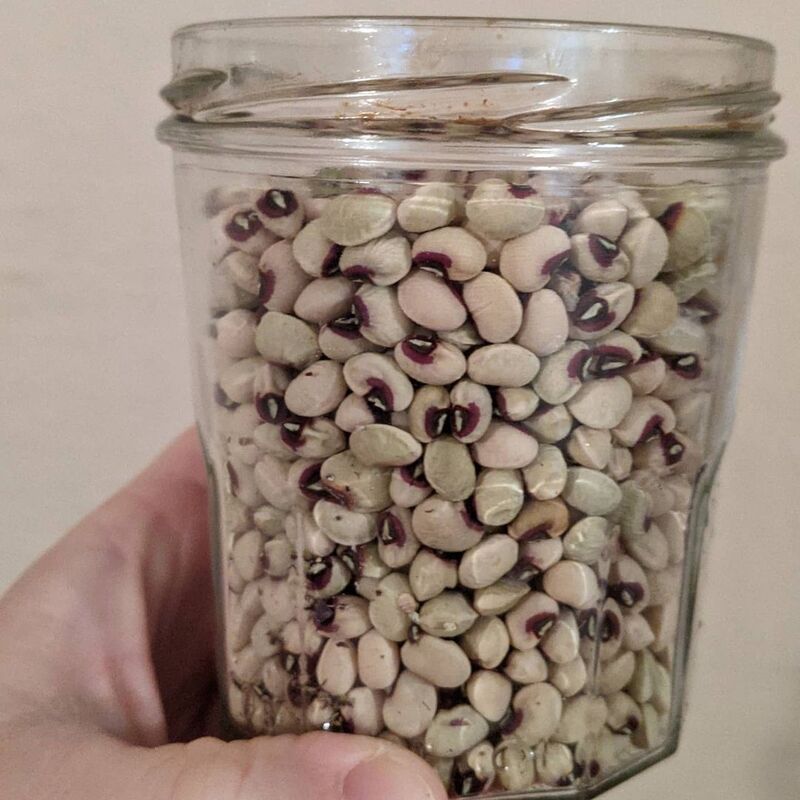
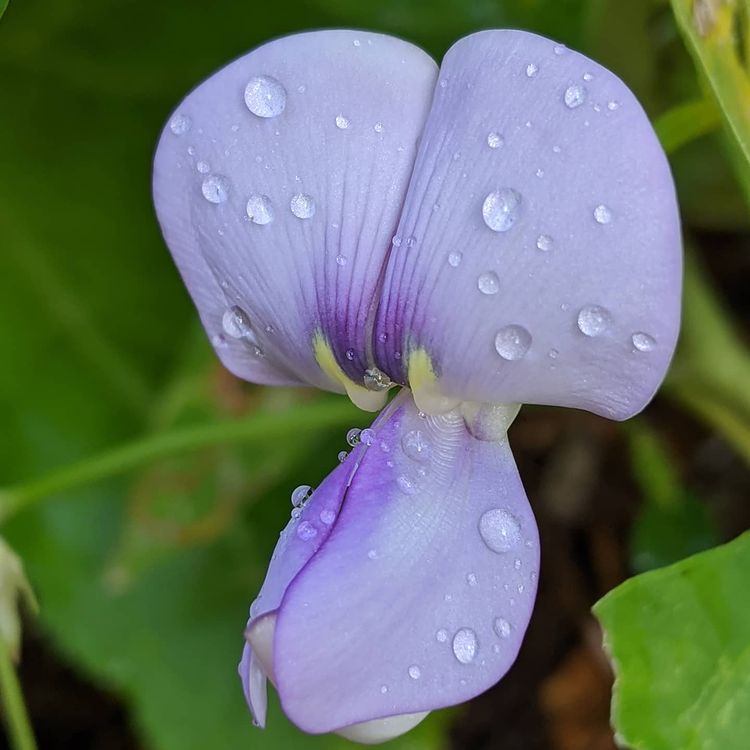
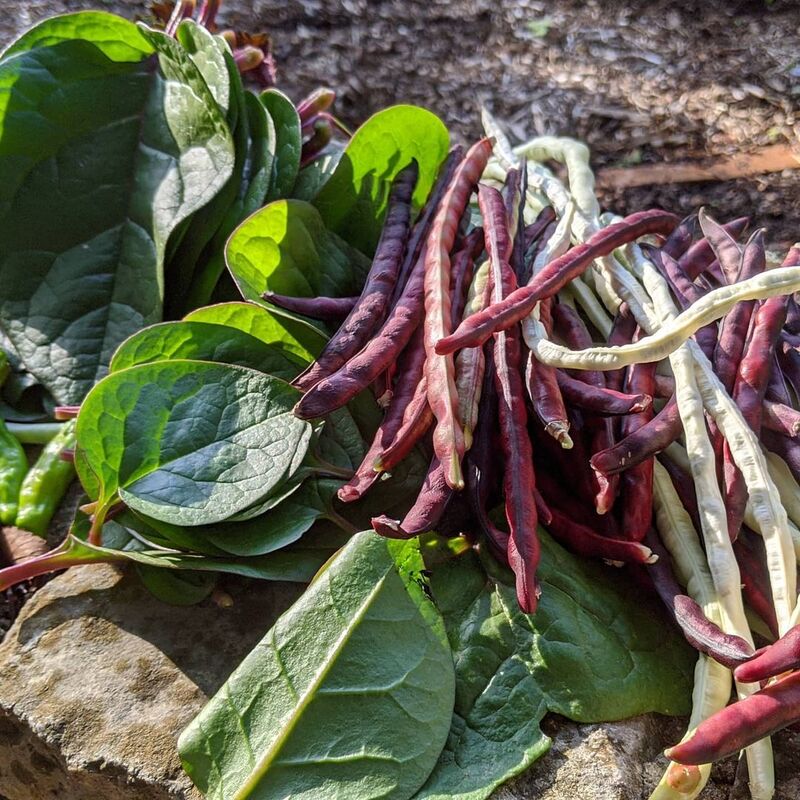
For more ideas on Ornamentals, Perennials, and Herbs, visit the Central Texas Gardener and The Natural Gardener lists online. Download the Texas A&M Extension Planting Chart and Varieties Chart at AustinOrganicGardners.org. 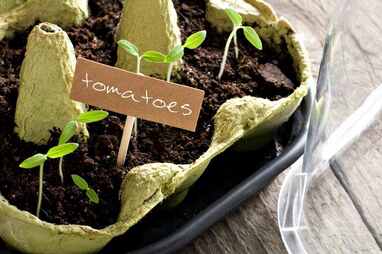 It’s that time of year to start plants like tomatoes and peppers indoors. Here’s a few tips on starting them on a budget using items you can recycle around the house. MATERIALS NEEDED ✓ Egg cartons ✓ Tomato & Pepper Seeds ✓ Scissors or sharp knife ✓ Pencil ✓ Organic Potting Soil ✓ Spray bottle ✓ Full spectrum LED or fluorescent bulb ✓ Balanced, general-purpose organic liquid fertilizer STEPS 1. Cut the lid from an egg carton with scissors or a sharp knife. 2. Poke a small drain hole in the bottom using the tip of a pencil or sharp object. 3. Place the egg carton lid under the bottom to create a drainage tray. 4. Fill the egg cells 3/4 full with organic potting soil. 5. Plant two or three seeds on top of the potting mixture in each cell. Cover the seeds with a thin layer of potting mixture. Refer to the seed packet for specific depth requirements. 6. Water with a spray bottle or turkey baster. Mist as needed to keep the potting mixture lightly moist. Don't over-water, it will become anaerobic and encourage bacteria to grow. 7. Place the egg cartons in a warm area to encourage germination. Sunlight isn’t required during this stage. Most seeds germinate in temperatures between 60 and 80 degrees Fahrenheit. 8. After seedlings sprout, thin to one seedling per cell. 9. Place the seedlings under a full spectrum Fluorescent or LED bulb, with 6 inches between the bulb and the top of the seedlings. You can use a clamp lamp or if you are growing a lot, use a shop light. 10. Fertilize the plants once a week if the seedlings are pale green or yellowish green. Use a weak solution of a balanced, general-purpose liquid fertilizer with a ratio such as 14-14-14 or 20-20-20. Mix the solution at 1 tablespoon of fertilizer in 1 gallon of water. 11. In 10-12 weeks seedlings will be ready to be transplanted outdoors. #seedstarting #organicgardening #zone8b #austin organicgardeners #growtomatoesindoors #startseedsineggcartons #recyclinginthegarden #thegrowthcycle On New Year's Day we enjoyed Purple-eyed Peas or Purple Hull Peas. We grew a vining variety this summer at the teaching beds at Zilker Botanical Garden. We built a vertical trellis for under $40 and grew it with chinese long beans and malabar spinach. The complementary purple and green colors were stunning.
This vining variety is resistant to all three types of fusarium wilt diseases. They are related to black eyed peas but have a purple-eye. They are native to Africa, specifically the country of Niger, andi came over during the era of American slave trading. They grow great in the summer through the heat after tomatoes have finished up. The bush variety make a great cover crop and fix nitrogen in the soil. This southern pea variety is easy to grow, not fussy about the type of soil they grow in and needing very little additional fertilization. Direct sow seeds 2-3 inches apart at ½ inch deep. Depending upon the variety, harvesting time will be between 55-70 days. Despite the name, the Purple Hull Pea tastes like beans and can even be cooked with the hulls. We harvested them when they were still green and cooked them in stir-fries. We also waited and harvest after the peas had turned fully purple and dried out, which makes dehulling easy. At that point, you can allow them to dry more indoors and then store in a jar for New Years Day! #purplehullpeas #happynewyear #superstition #lucky |
AuthorWrite something about yourself. No need to be fancy, just an overview. Archives
May 2024
Categories |

 RSS Feed