 We just passed the New Moon phase and are now approaching the First Quarter and are in Waxing Crescent. It’s a good time to plant warm season greens and herbs that do well in heat. During the waxing of the moon (the period extending from the day the moon is new to the day it reaches its fullest point), the moon pulls moisture upwards. Seeds do well during this time because moisture is available at the surface of the soil. It’s always best to try to transplant and seed-in with the coming rains that are in the forecast.
Click on the links to get growing information and best varieties from Texas A&M Extension and other sources. Direct Seed or Transplant
Texas A&M Agrilife Extension Leafy Greens Growing Guide. For more ideas on Ornamentals, Perennials, and Herbs, visit the Central Texas Gardener and The Natural Gardener lists online. Download the Texas A&M Extension Planting Chart and Varieties. 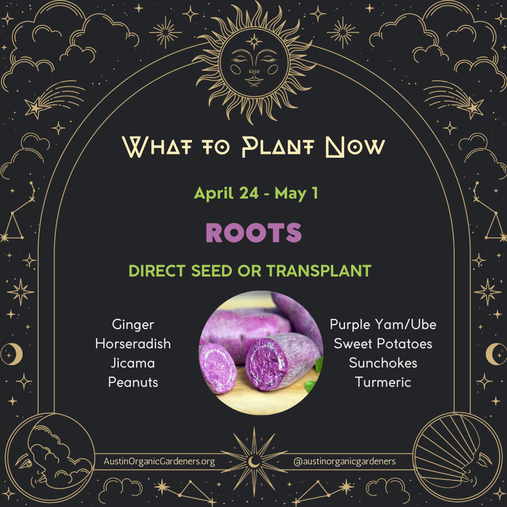 We just passed the Super Flower Blood Moon also called the “Blood Moon.” The Flower Moon is because in the northern hemisphere, flowers are at their peak bloom.
We are now going into a waning period of the Moon—from the day after it is full to the day before it is new again. As the moonlight decreases night by night, plants are encouraged to grow roots, tubers, and bulbs. It’s always best to try to plant with the coming rains which are in the forecast. DIRECT SEED / TRANSPLANT Ginger Horseradish Jicama Peanuts Purple Yam/Ube Sweet Potatoes Sunchokes Turmeric GROW YOUR OWN SWEET POTATO SLIPS: You can plant sweet potato slips through June so you still have a little time to grow your own slips at home. See our blog post on two ways to do this at home. The method that produced the most slips was the “soil method.” If you haven’t grown your own slips you can buy them at local nurseries such as the Natural Gardener and Tillery Plant Company. You can even plant small organic sweet potatoes directly in the soil. For more ideas on Ornamentals, Perennials, and Herbs, visit the Central Texas Gardener and The Natural Gardener lists online. Download the Texas A&M Extension Planting Chart and Varieties.  We just passed the first quarter and the moon is now waxing gibbous going into a full moon. Now is also a time to seed-in plants that fruit and seed like beans, cucumbers, watermelon, cantaloupe, pumpkins, squash, okra, and southern peas. If you already planted these things, remember that it’s a good idea to succession plant and grow twice as much as you will need in case of disease and pest.
If you haven’t planted your nightshades, try to get established transplants of your tomatoes because July is usually when temperatures are too hot for them and they need 50 to 60 days to reach harvest. Although, this year as temperatures are a bit cooler, you may still be able to get a good harvest from larger established 1 gallon transplants. As always, it’s best to transplant and seed-in with the coming rains. DIRECT SEED
For more ideas on Ornamentals, Perennials, and Herbs, visit the Central Texas Gardener and The Natural Gardener lists online. Download the Texas A&M Extension Planting Chart and Varieties. 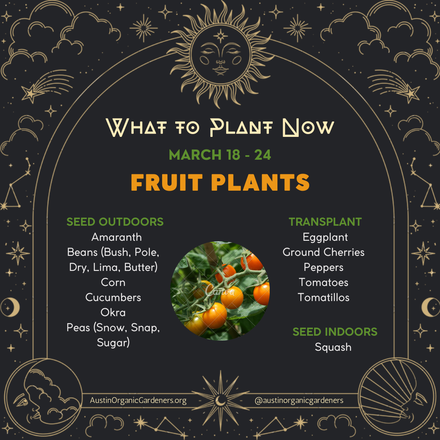 We are about to pass the first quarter and the moon is now waxing gibbous going into a full moon. Now is also a time to seed-in plants that fruit and seed like beans, corn, melons, and squash. You can still transplant tomatoes, eggplants, tomatillos, and peppers. It is still a good time to plant nut and fruit trees including citrus, and berry bushes and grape vines. It’s always best to try to transplant and seed-in with the coming rains. Which is coming up next week.
Many of the varieties of seeds are associated with the three sisters or #milpa agriculture system from Oaxaca, Mexico. If you haven’t gotten your corn in, this is the last chance to get it in. You can learn more about milpa and also learn about the three sisters garden we are growing at @zilkerbotanical. DIRECT SEED
TRANSPLANT
FRUITING / NUT PLANTS:
For more ideas on Ornamentals, Perennials, and Herbs, visit the Central Texas Gardener and The Natural Gardener lists online. Download the Texas A&M Extension Planting Chart and Varieties. BECOME A MEMBER Become a member of the oldest organic gardening club in the U.S. at Memberships are only $25 a year and 100% of your dues support Zilker Botanical Garden.  We just passed the New Moon phase and are now approaching the First Quarter and are in Waxing Crescent. It’s a good time to plant leafy greens, cereal grains, and herbs that do well in heat. During the waxing of the moon (the period extending from the day the moon is new to the day it reaches its fullest point), the moon pulls moisture upwards. Seeds do well during this time because moi sture is available at the surface of the soil. It’s always best to try to transplant and seed-in with the coming rains. Keep dancing for the rain that is in the forecast. This is the last chance to put in transplants of some brassicas.
TRANSPLANT
For more ideas on Ornamentals, Perennials, and Herbs, visit the Central Texas Gardener and The Natural Gardener lists online. Download the Texas A&M Extension Planting Chart and Varieties.  We thankfully didn't feel the full snow moon again this year, but there's always a possibility of a last frost of the season, so take precaution. The explanation behind February’s full Moon name is a fairly straightforward one: it’s known as the Snow Moon due to the typically heavy snowfall that occurs in February. On average, February is the United States’ snowiest month, according to data from the National Weather Service. In the 1760s, Captain Jonathan Carver, who had visited with the Naudowessie (Dakota), wrote that the name used for this period was the Snow Moon, “because more snow commonly falls during this month than any other in the winter.”We are now going into a waning period of the Moon—from the day after it is full to the day before it is new again. As the moonlight decreases night by night, plants are encouraged to grow roots, tubers, and bulbs.
SEED OUTDOORS
Now is also a good time to start prepping your sweet potatoes indoors as well. For more ideas on Ornamentals, Perennials, and Herbs, visit the Central Texas Gardener and The Natural Gardener lists online. Download the Texas A&M Extension Planting Chart and Varieties. 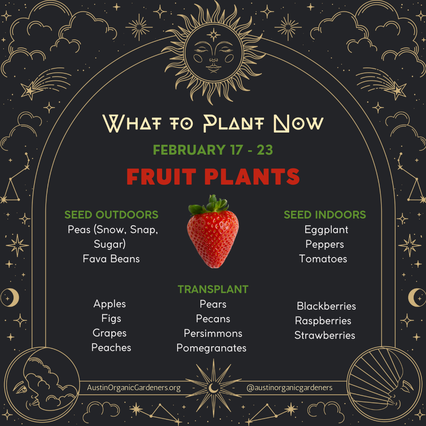 We are about to pass the first quarter and the moon is now waxing gibbous going into a full moon. Now is also a time to seed-in peas, fava beans, and also plant transplants of strawberries, nut trees, fruit trees and berry bushes. Avoid planting tropical fruit trees and citrus until after the last frost. This is also a reminder to prune and trim your fruit trees while they are dormant. After February, plants start to bud and it will be too late. It’s always best to try to transplant and seed-in with the coming rains.
SEED INDOORS
If you have already started tomatoes, peppers and eggplants move to larger 4” pots. Start more seeds to do succession planting. Later in February that can be transplanted if well protected from late freezes. DIRECT SEED OUTDOORS
TIP: For best results in germination, soak seeds overnight and then toss in a #Rhizobiumbacteria inoculant before planting in soil. TRANSPLANT: Now is the last chance to plant fruit trees, graft & prune.
For more ideas on Ornamentals, Perennials, and Herbs, visit the Central Texas Gardener and The Natural Gardener lists online. Download the Texas A&M Extension Planting Chart and Varieties. 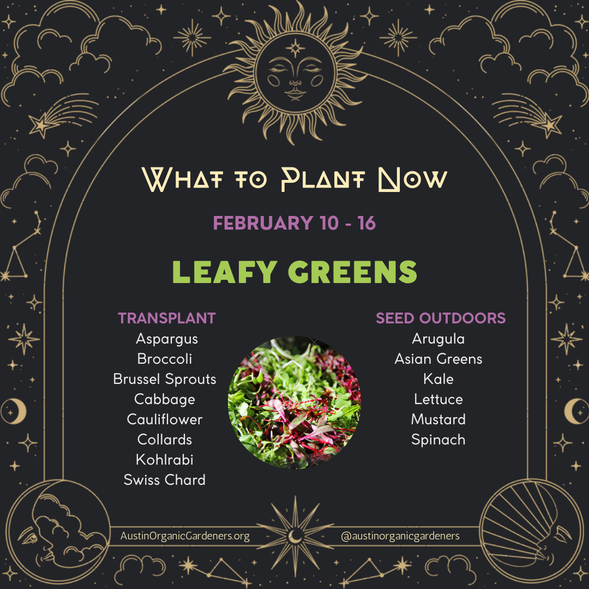 As we are approaching the First Quarter and are in Waxing Crescent, it’s a good time to plant leafy greens especially with the upcoming rains. We recommend you start some seeds indoors if you have a plant light set-up. If you already have seeds planted, they can handle a freeze, but hold off on transplants until the freezing temps have passed.
Here is a list of leafy green plants that are recommended for transplanting or direct seeding. During the waxing of the moon (the period extending from the day the moon is new to the day it reaches its fullest point), the moon pulls moisture upwards. Seeds do well during this time because moisture is available at the surface of the soil. It’s always best to try to transplant and seed-in with the coming moisture, but hold off until after the last frost.. SEED INDOORS / TRANSPLANT
SEED OUTDOORS / TRANSPLANT
For more ideas on Ornamentals, Perennials, and Herbs, visit the Central Texas Gardener and The Natural Gardener lists online. Download the Texas A&M Extension Planting Chart and Varieties. 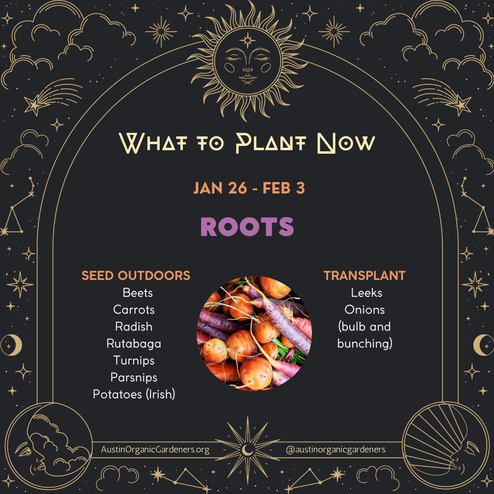 We just passed January’s full Moon also known as the Wolf Moon because wolves were more likely to be heard howling at this time. We are now going into a waning period of the Moon—from the day after it is full to the day before it is new again. As the moonlight decreases night by night, plants are encouraged to grow roots, tubers, and bulbs.
SEED-IN
 We just passed the first quarter and the moon is now waxing gibbous going into a full moon. Now is also a time to seed-in peas, fava beans, and also plant transplants of strawberries, nut trees, fruit trees and berry bushes. Avoid planting tropical fruit trees and citrus until after the last frost. This is also a reminder to prune and trim your fruit trees while they are dormant. After February, plants start to bud and it will be too late. It’s always best to try to transplant and seed-in with the coming rains.
SEED INDOORS
DIRECT SEED OUTDOORS
TIP: For best results in germination, soak seeds overnight and then toss in a #Rhizobiumbacteria inoculant before planting in soil. TRANSPLANT: Now is also a time to plant fruit trees, graft & prune.
For more ideas on Ornamentals, Perennials, and Herbs, visit the Central Texas Gardener and The Natural Gardener lists online. Download the Texas A&M Extension Planting Chart and Varieties. |
AuthorWrite something about yourself. No need to be fancy, just an overview. Archives
May 2024
Categories |
 RSS Feed